Generating and editing images with Nano Banana in Java
By now, you’ve all probably seen the incredible images generated by the Nano Banana model (also known as Gemini 2.5 Flash Image preview)? If you haven’t, I encourage you to play with it within Google AI Studio, and from the Gemini app. or have a look at the @NanoBanana X/Twitter account which shares some of its greatest creations.
As a Java developer, you may be wondering how you can integrate Nano Banana in your own LLM-powered apps. This is what this article is about! I’ll show you how you can use this model to:
- create new images
- edit existing images
- assemble images together
For that, I’ll be using the GenAI Java SDK from Google.
Remark: On this blog, I regularly talk about LangChain4j and ADK for Java. It’s possible to use Nano Banana in ADK, but it’s not yet possible to use it with LangChain4j, because LangChain4j doesn’t yet support models that feature output multimodality (i.e. returning text and images). I’ll definitely come back to that once it’s supported to show how to call Nano Banana from LangChain4j.
Creating your first image
First of all, you’ll need to add the following dependency:
For Maven
<dependency>
    <groupId>com.google.genai</groupId>
    <artifactId>google-genai</artifactId>
    <version>1.15.0</version>
</dependency>
For Gradle
dependencies {
    implementation "com.google.genai:google-genai:1.15.0"
}
Next, you’ll need to decide if you wish to use a Google AI API key, or if you have an existing Google Cloud project, and use it for authentication.
Using a Google AI API key
try (Client client = new Client.Builder()
    .apiKey(System.getenv("GOOGLE_API_KEY"))
    .build()) {
        // ...
}
Using a Google Cloud project
try (Client client = new Client.Builder()
    .project(System.getenv("GOOGLE_CLOUD_PROJECT_ID"))
    .location(System.getenv("GOOGLE_CLOUD_LOCATION"))
    .vertexAI(true)
    .build()) {
        // ...
}
Time to generate our first image!
var response = client.models.generateContent(
        "gemini-2.5-flash-image-preview",
        """
        An impressionist oil painting
        of the port of La Rochelle
        with its towers and sailing ships.
        """,
    GenerateContentConfig.builder()
        .responseModalities("TEXT", "IMAGE")
        .build());
Call the generateContent() method with the name of the model, the text prompt, and some extra configuration to specify that we want both text and image output.
Note: When using Nano Banana with Google Cloud Vertex AI, this
GenerateContentConfigsetting is required, but it’s implicit when using the Google AI API endpoint instead. It’s a little discrepancy that might be ironed out later on, but in the meantime, always specify that parameter so that your code works for both flavors of the model and API endpoint.
Then you need to save the image part of the response into a file, or potentially stream it to the user.
for (Part part : Objects.requireNonNull(response.parts())) {
    if (part.inlineData().isPresent()) {
        var blob = part.inlineData().get();
        if (blob.data().isPresent()) {
            try {
                Files.write(Paths.get("oil.png"), blob.data().get());
                break;
            } catch (IOException e) {
                throw new RuntimeException(e);
            }
        }
    }
}
Important: Nano Banana is actually a chat model! So it can return both text and image. It may sometimes ask follow up questions to be sure what image it should generate, so an image is not necessarily always present in the output. But when an image is generated, there’s always just one.
Let’s see what my oil painting looks like:
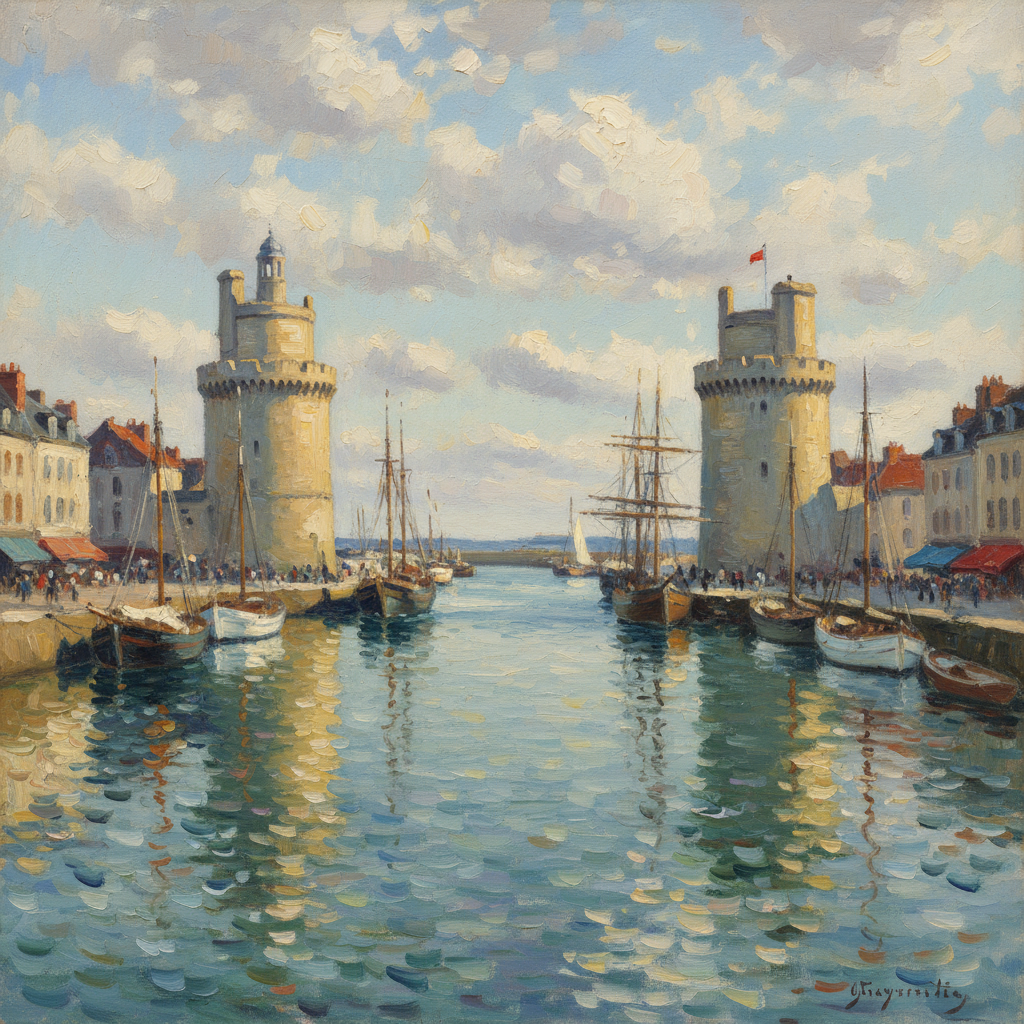
It looks very much like an oil painting from an impressionist painter!
Editing an existing image
An area where Nano Banana excels, it’s for editing an existing image. That’s why some people claim it’s a Photoshop killer!
To edit an image, you’ll have to use a variant of the generateContent() method that takes a Content object (made of Parts),
instead of using the method that takes a simple string, because you’ll need to pass:
- the image you want to edit,
- as well as the instructions of the changes you want to make.
var response = client.models.generateContent(modelName,
    Content.fromParts(
        Part.fromBytes(
            Files.readAllBytes(Path.of("oil.png")), "image/png"),
        Part.fromText("""
            Simplify this painting to focus on key elements, turn
            this oil painting into a black and white ink noir comic
            drawing, make the weather rainy and change the time of
            the day to be at night.
            """)
    ),
    GenerateContentConfig.builder()
        .responseModalities("TEXT", "IMAGE")
        .build());
Here, I pass the oil.png image that we created in the previous run, and add the instructions to change that oil painting into a noir comic style, on a rainy night.
You should also update the file name in which to save the content of the image (I changed it to noir.png in my code).
Let’s see if it looks like some noir comic style:
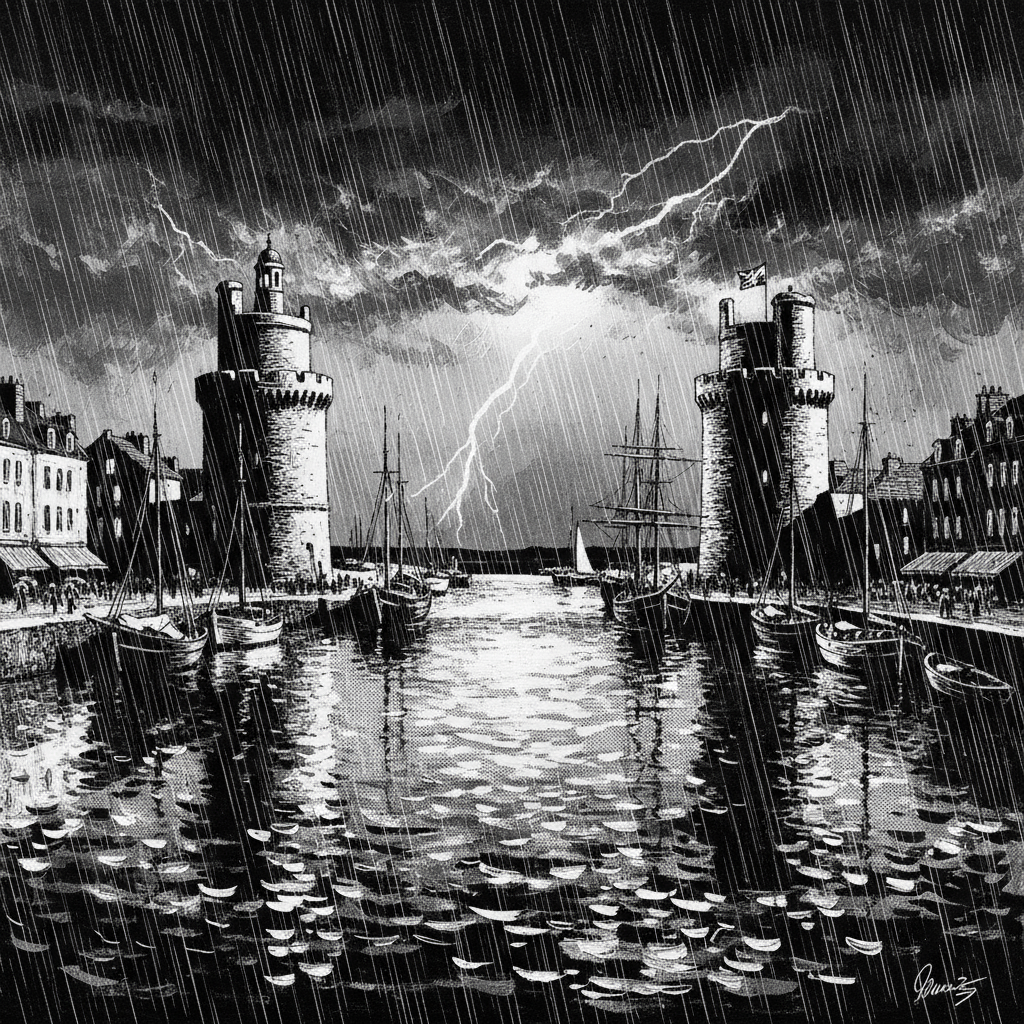
Spot on!
Combining several images
Another area where Nano Banana is extremely good at, it’s for combining several images together. This capability is very important for example for product marketers who want to maybe put a bottle of perfume in a different decor, or to make a person do a virtual try on of some new clothes.
Let’s say I want to put this person, in the decor, and make her wear the red dress:

Let’s tweak the generateContent() call again, passing all three images, and the editing instructions:
var response = client.models.generateContent(modelName,
    Content.fromParts(
        Part.fromBytes(Files.readAllBytes(Path.of("decor.jpg")), "image/jpeg"),
        Part.fromBytes(Files.readAllBytes(Path.of("taylor.jpg")), "image/jpeg"),
        Part.fromBytes(Files.readAllBytes(Path.of("red-dress.png")), "image/png"),
        Part.fromText("""
            Add this person to the exterior decor,
            and make her wear the red dress.
            """)
    ),
    GenerateContentConfig.builder()
        .responseModalities("TEXT", "IMAGE")
        .build());
The result speaks for itself:
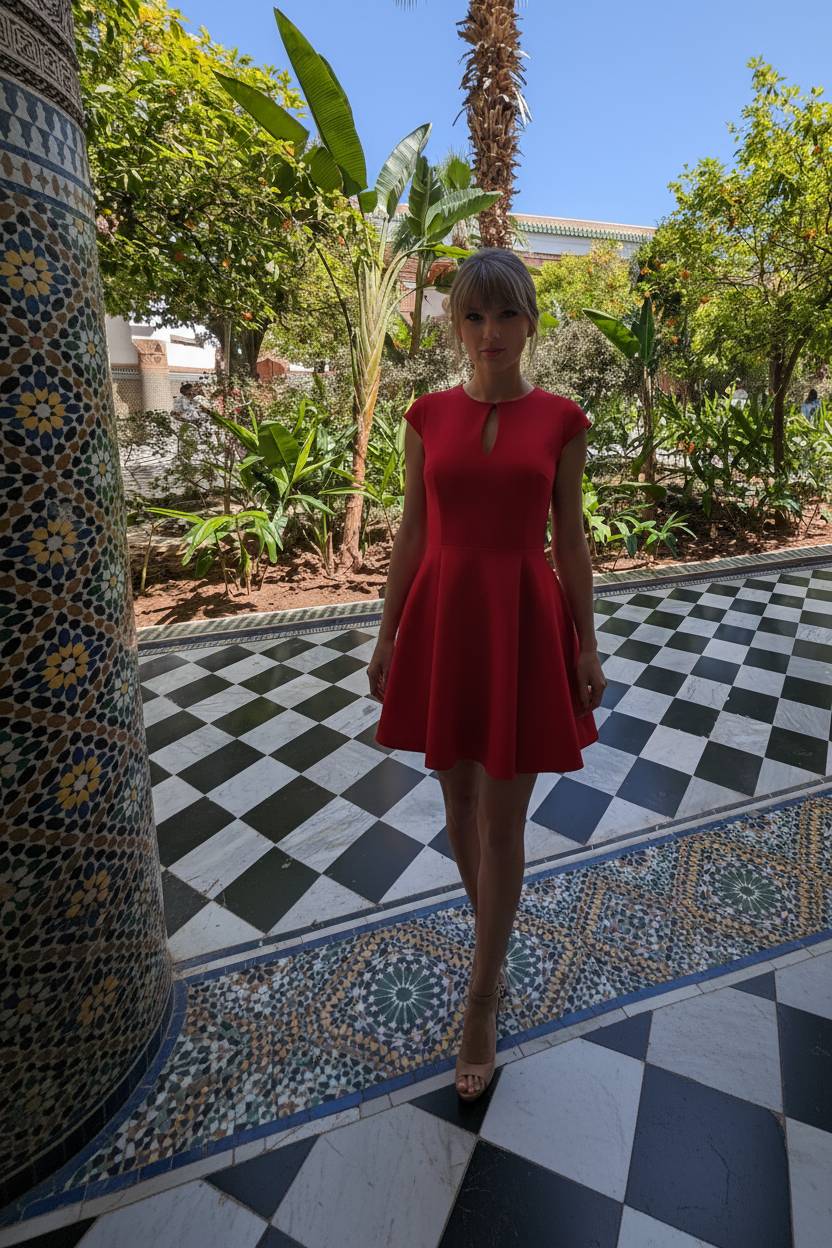
Next time, maybe I’ll use better lighting!
Conclusion and going further
I hope you enjoyed this quick tutorial on how to generate and edit images with Nano Banana in Java! It’s a very fun model to use, so don’t hesitate to unleash your creativity. And again, you don’t need to be a 🐍 Python developer to do that! You can do everything in Java ☕
In the meantime, have fun generating cool images with Nano Banana! In particular from Java! And don’t hesitate to share them with me on social media (links at the bottom of this blog), I’m curious to see your creations!