Generating videos in Java with Veo 3
Yesterday, we went bananas 🍌 creating and editing images with Nano Banana, in Java. Now, what about generating videos as well, still in Java, with Veo 3?
Especially since this week, Google announced that Veo 3 became generally available, with reduced pricing, a new 9:16 aspect ratio (nice for those vertical viral videos) and even with resolution up to 1080p!
In today’s article, we’ll see how to create videos, in Java, with the GenAI Java SDK. We’ll create videos either:
- with a prompt,
- or starting with an existing image.
Setting up your project
Depending on your build tool of choice, you’ll have to declare the following dependency for the GenAI SDK:
For Maven
<dependency>
    <groupId>com.google.genai</groupId>
    <artifactId>google-genai</artifactId>
    <version>1.15.0</version>
</dependency>
For Gradle
dependencies {
    implementation "com.google.genai:google-genai:1.15.0"
}
Next, you’ll need to decide if you wish to use a Google AI API key, or if you have an existing Google Cloud project, and use it for authentication.
Using a Google AI API key
try (Client client = new Client.Builder()
    .apiKey(System.getenv("GOOGLE_API_KEY"))
    .build()) {
        // ...
}
Using a Google Cloud project
try (Client client = new Client.Builder()
    .project(System.getenv("GOOGLE_CLOUD_PROJECT_ID"))
    .location(System.getenv("GOOGLE_CLOUD_LOCATION"))
    .vertexAI(true)
    .build()) {
        // ...
}
Now we’re ready to go!
Choosing the right model
There are two Veo 3 versions, a super fast one, and a highest quality one:
veo-3.0-generate-001veo-3.0-fast-generate-001
Let’s store the model in a variable:
String modelName = "veo-3.0-generate-001";
For the rest of this article, I’ll use the best and greatest version! The generated videos are of higher quality, but they are also more expensive. So you might want to use the “fast” variant, if you don’t need the highest quality possible, and you also want faster video generation.
You can create a video in two ways: from a text prompt, where Veo creates the entire scene, or from an existing image that serves as a starting point, preserving its atmosphere and tone. Let’s see both approaches.
Generating a video with a prompt
The client.models.generateVideos() method we will use has a few overloads.
I usually prefer the one that accepts a GenerateVideosSource builder object.
On that object, you can configure whether you want to pass a prompt, or an image as starting point.
So let’s create a video of a funky banana:
var operation = client.models.generateVideos(
    modelName,
    GenerateVideosSource.builder()
        .prompt("""
            A funky banana is dancing on the dance floor in a
            nightclub with flashy color lights and faceted ball,
            and in the background, a neon light says "Veo 3"
            """)
        .build(),
    GenerateVideosConfig.builder()
        .aspectRatio("16:9")
        .resolution("720p")
        .generateAudio(true)
        .build()
);
What does it look (and sound!) like?
Vertex AI and Google AI don’t necessarily support the same video configuration options. The example here was made with Veo from Vertex AI, but with the developer endpoint, for example, you can’t specify the resolution or the audio generation parameter. So be sure to double check which parameters work with the flavor of Veo you’re using.
Generating a video with an existing image
What if instead, I already created an image that I want to animate. For example, I created this nice dancing banana with Nano Banana (check yesterday’s post on Nano Banana from Java):
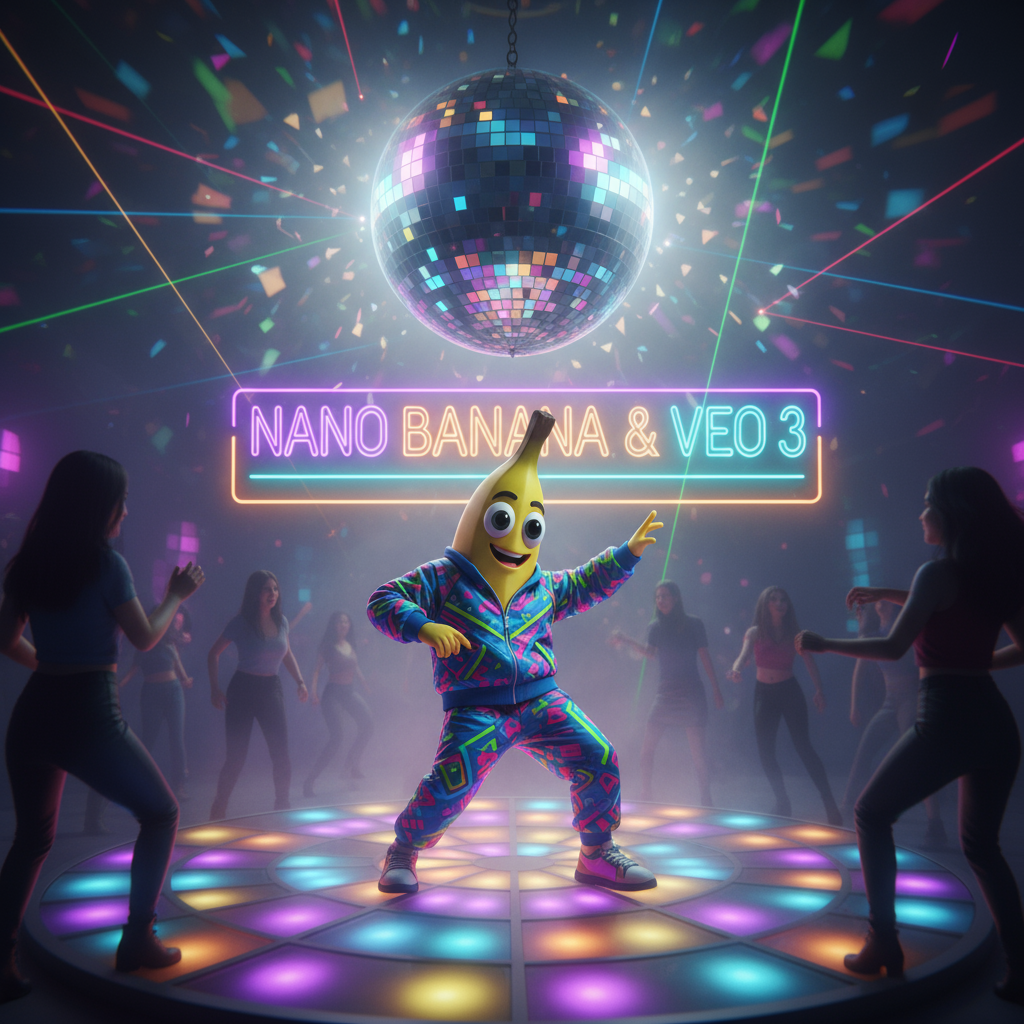
So let’s animate that particular image (banana.png) and this time, I’ll use a 9:16 vertical format, so that I can easily share it on social media, with a nice aspect ratio for mobile devices:
var operation = client.models.generateVideos(
    modelName,
    GenerateVideosSource.builder()
        .prompt("The banana is dancing to the sound of disco music")
        .image(Image.fromFile("banana.png", "image/png"))
        .build(),
    GenerateVideosConfig.builder()
        .aspectRatio("9:16")
        .resolution("1080p")
        .generateAudio(true)
        .build()
);
Here’s the resulting video:
Do you feel like dancing now? Or maybe you’d rather eat a banana?
Waiting for the video to be generated
I showed the videos in the previous sections already, but I didn’t yet explain how to retrieve those generated videos.
Whereas images are quite fast to generate (so we can wait synchronously for them) videos on the other hand take longer to generate (between 1 and 2 minutes). That’s why we’re going to have to poll to check their status.
The generateVideos() method returns a GenerateVideosOperation object, which is a snapshot of the status of the operation.
We have to request a new GenerateVideosOperation instance each time we want to check the status:
while (!operation.done().orElse(false)) {
    Thread.sleep(1000);
    operation = client.operations.getVideosOperation(operation, null);
}
With a while loop, I’m checking every second when/if the video is finished or not.
And I request a new operation object and check again.
When the operation is actually done, we can fetch the video bytes and save them in a file.
There’s a bit of Java stream magic involved here, because the API is (unfortunately) relying too much on Optionals for everything:
operation.response()
    .flatMap(GenerateVideosResponse::generatedVideos)
    .stream()
    .flatMap(List::stream)
    .findFirst()
    .ifPresent(video -> client.files.download(video, "video.mp4", null));
And here you go, the video is now available and saved in the video.mp4 file.
Conclusion
In this article, we’ve seen how to use the GenAI Java SDK to generate videos with Veo 3 in Java. We explored creating videos from both text prompts and existing images, configuring aspect ratios and resolutions, and handling the asynchronous nature of video generation by polling for results. With just a few lines of Java code, you can now integrate powerful video generation capabilities into your applications.