A Javelit Frontend for the Deep Research Agent
A month ago, I wrote about building a research assistant in Java, using the Gemini Interactions API, and the Deep Research agent. Today I wanted to revisit this project, but with the goal to make it more user-friendly, with a Javelit based frontend.
The Research Pipeline: From Query to Infographic
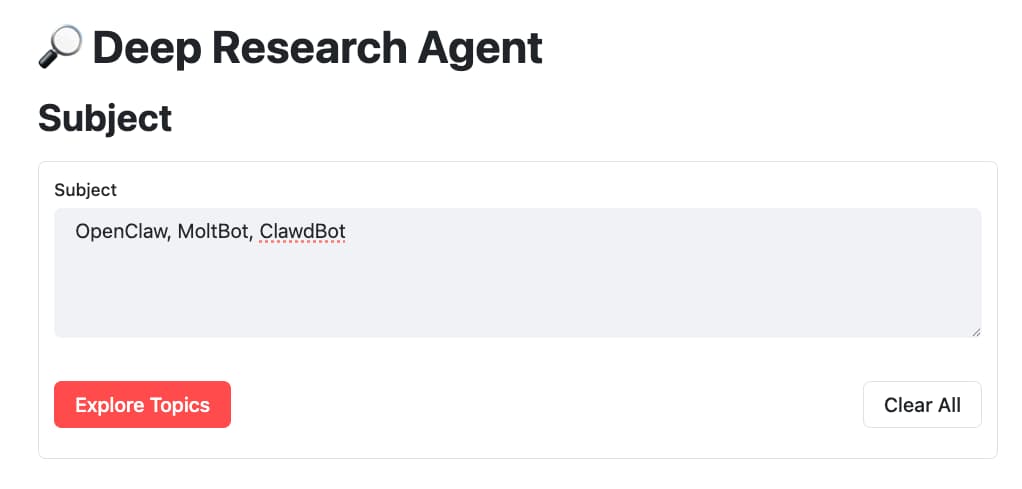
- First, the user enters the subject of the research.
- A button action triggers the research of possible topics about that subject (ie. the different possible facets or angles of the subject), using Gemini 3 Flash with Google Search activated.
- The user selects the facets they’re interested in, to restrict the research to only those aspects.
- Then the Deep Research agent kicks in, via the Gemini Interactions API, and spends a few minutes researching the topic.
- Once the final report is ready, Gemini 3 Pro creates a solid summary.
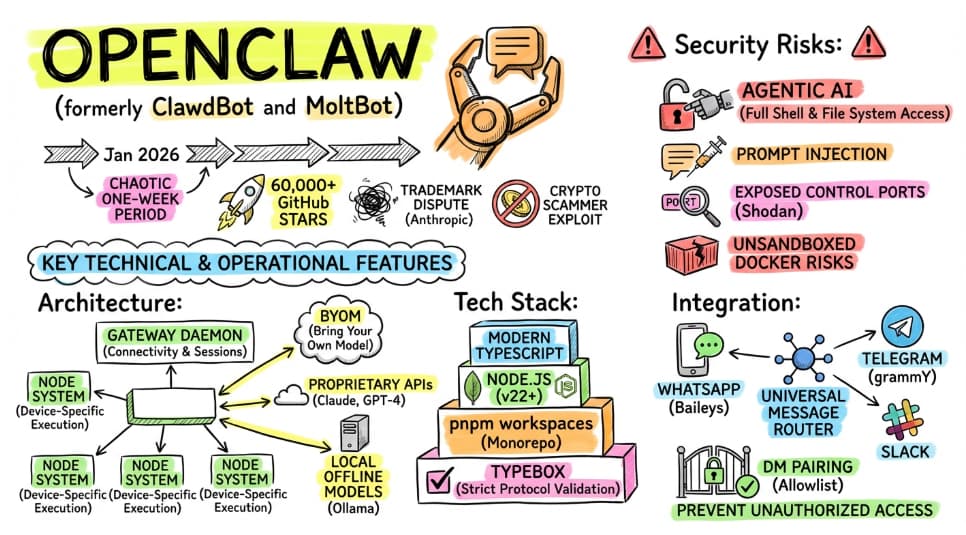
- The summary is used to generate a sketchnote with Nano Banana Pro.
A Look at the User Interface
Let’s say, as a user, I want to research information about the OpenClaw / MoltBot / ClawdBot personal AI assistant (unless it has again changed its name? 😃)
With Javelit, the code looks like this:
// The main title
Jt.title("🔎 Deep Research Agent").use();

// A header
Jt.header("Subject").use();

// The form containing the text area and submit buttons
var formSubject = Jt.form().key("form_subject").use();
String subject = Jt.textArea("Subject")
        .key("subject")
        .placeholder("Enter the subject you want to research...")
        .use(formSubject);

// The buttons (submit and clear) are inside 2 columns on a row
var columns = Jt.columns(2).widths(List.of(0.9, 0.1)).use(formSubject);

// I clear the state if the user clicks the clear button
Jt.formSubmitButton("Clear All").onClick(b -> {
    Jt.setComponentState("subject", "");
    Jt.sessionState().remove("topics");
}).use(columns.col(1));

// We proceed with the next steps
// if the user clicks the exploration button
Jt.formSubmitButton("Explore Topics").type("primary").onClick(b -> {
    Jt.sessionState().remove("topics");
}).use(columns.col(0));
1. Topic Exploration (Gemini 3 Flash)
Then, I click on Explore Topics to find the various facets of that story.
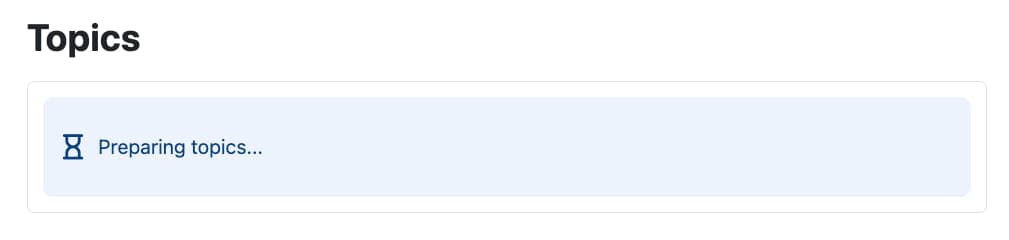
Looks like Gemini 3 Flash is thinking, and is actively searching for the most up-to-date information on Google Search:
Indeed, I created a model interaction invoking Gemini 3 directly, and requesting to return a structured output (an array of strings), containing the different facets of the subject:
ModelInteractionParams planParams = ModelInteractionParams.builder()
        .model("gemini-3-flash-preview")
        .input(String.format("""
                Find a list of topics to research
                on the following subject:
                %s
                """, state.subject))
        .responseFormat(GSchema.fromClass(String[].class))
        .tools(new GoogleSearch())
        .store(true)
        .build();

Interaction planInteraction = client.create(planParams);
In terms of UI, as the UI elements are rendered synchronously, as the code is being executed, we can define placeholder elements that will receive future components:
// A header
Jt.header("Topics").use();

// The form containing the text area and submit buttons
var formTopics = Jt.form().key("form_topics").use();

// An "empty" container to hold an info bubble and the future topics
var topicsContainer =
        Jt.empty().key("topics_container").use(formTopics);
Jt.info("Preparing topics...").icon(":hourglass:")
        .use(topicsContainer);
In the above, the Jt.empty() component receives the Jt.info() bubble.
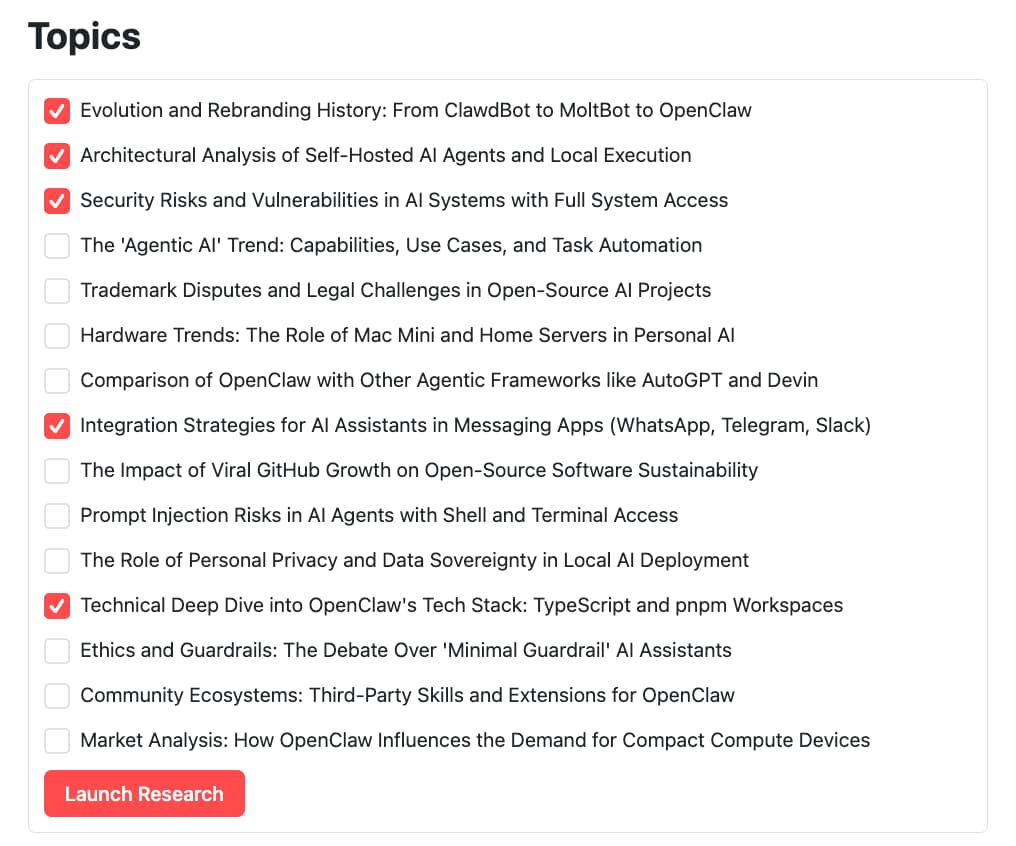
But once the list of facets is returned by the model interaction, the info bubble will be replaced by a list of checkboxes with the topics to select:
var topicSelectionContainer =
        Jt.container().key("topics").use(topicsContainer);

List<String> selectedTopics = topics.stream()
        .filter(topic ->
            Jt.checkbox(topic).use(topicSelectionContainer))
        .toList();

Jt.formSubmitButton("Launch Research").type("primary").use(formTopics);

if (selectedTopics.isEmpty()) {
    // wait for user to select topics and hit form submit button
    return;
}
Gemini 3 found a good list of facets. Let me select the ones I’m the most interested in:
2. The Deep Dive (Deep Research Pro)
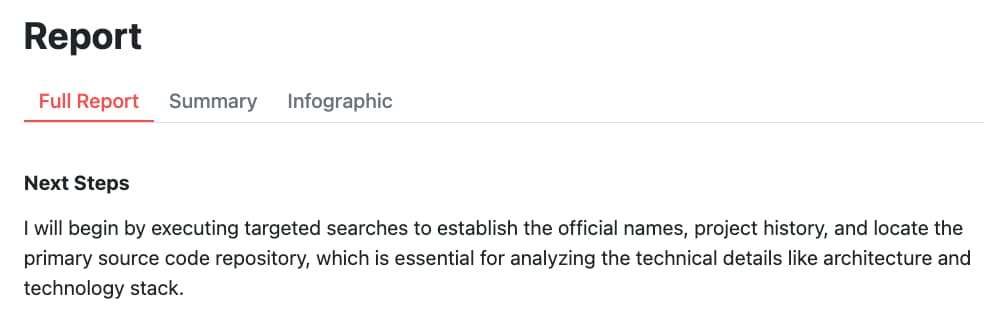
Now when I click the Launch Research button, the Deep Research agent is actively working:

In this part of the interface, you’ll notice the use of tabs, to separate the full report, the summary, and the infographic.
This is achieved with the Jt.tabs() component.
// A header
Jt.header("Report").use();

// The 3 tabs
var tabLabels = List.of("Full Report", "Summary", "Infographic");
var tabs = Jt.tabs(tabLabels).use();

// Each tab has a placeholder
var reportPlaceholder =
        Jt.empty().key("fullReport").use(tabs.tab(tabLabels.get(0)));
var summaryPlaceholder =
        Jt.empty().key("summary").use(tabs.tab(tabLabels.get(1)));
var infographicPlaceholder =
        Jt.empty().key("infographic").use(tabs.tab(tabLabels.get(2)));

// The placeholders are info bubbles,
// soon replaced by the report, summary, and infographic
Jt.info("Preparing full report...")
        .icon(":hourglass:")
        .use(reportPlaceholder);
Jt.info("Preparing summary...")
        .icon(":hourglass:")
        .use(summaryPlaceholder);
Jt.info("Preparing infographic...")
        .icon(":hourglass:")
        .use(infographicPlaceholder);
As the research and thinking progress, Deep Research shares its thoughts and current actions with me (the info bubbles being replaced by the thoughts and actions):
It’s important to pause to see how the thoughts are streamed in real time.
Let’s have a look at the agent interaction definition:
AgentInteractionParams researchParams =
    AgentInteractionParams.builder()
        .agent("deep-research-pro-preview-12-2025")
        .input(String.format("""
            Write a concise research report on the following subject:
            <subject>
            %s
            </subject>

            By focusing on the following topics:
            <topics>
            %s
            </topics>
            """,
            subject, topicsList))
        .background(true)
        .stream(true)
        .agentConfig(
                new DeepResearchAgentConfig(ThinkingSummaries.AUTO))
        .store(true)
        .build();
The important bits here are:
background(true)to state it’s a background operation that can take time to complete.stream(true)to state it should be streamed in real time.- And
.agentConfig(new DeepResearchAgentConfig(ThinkingSummaries.AUTO))says that thoughts should be sent as they occur.
The part taking care of the streaming is the stream() method on the agent interaction:
client.stream(researchParams).forEach(event -> {
    if (event instanceof ContentDelta delta) {
        if (delta.delta() instanceof ThoughtSummaryDelta thought) {
            if (thought.content() instanceof TextContent textContent) {
                Jt.markdown(textContent.text()).use(reportPlaceholder);
            }
        } else if (delta.delta() instanceof TextDelta textPart) {
            reportBuilder.append(textPart.text());
            Jt.markdown(reportBuilder.toString())
                    .use(reportPlaceholder);
        }
    // ...
The client is receiving thoughts, but it’s also later going to receive the report in the stream. So as soon as thoughts or pieces of the report arrive, they are reflected in the UI of our research agent.
And after a little while (from one to six minutes or so) the final report is ready:
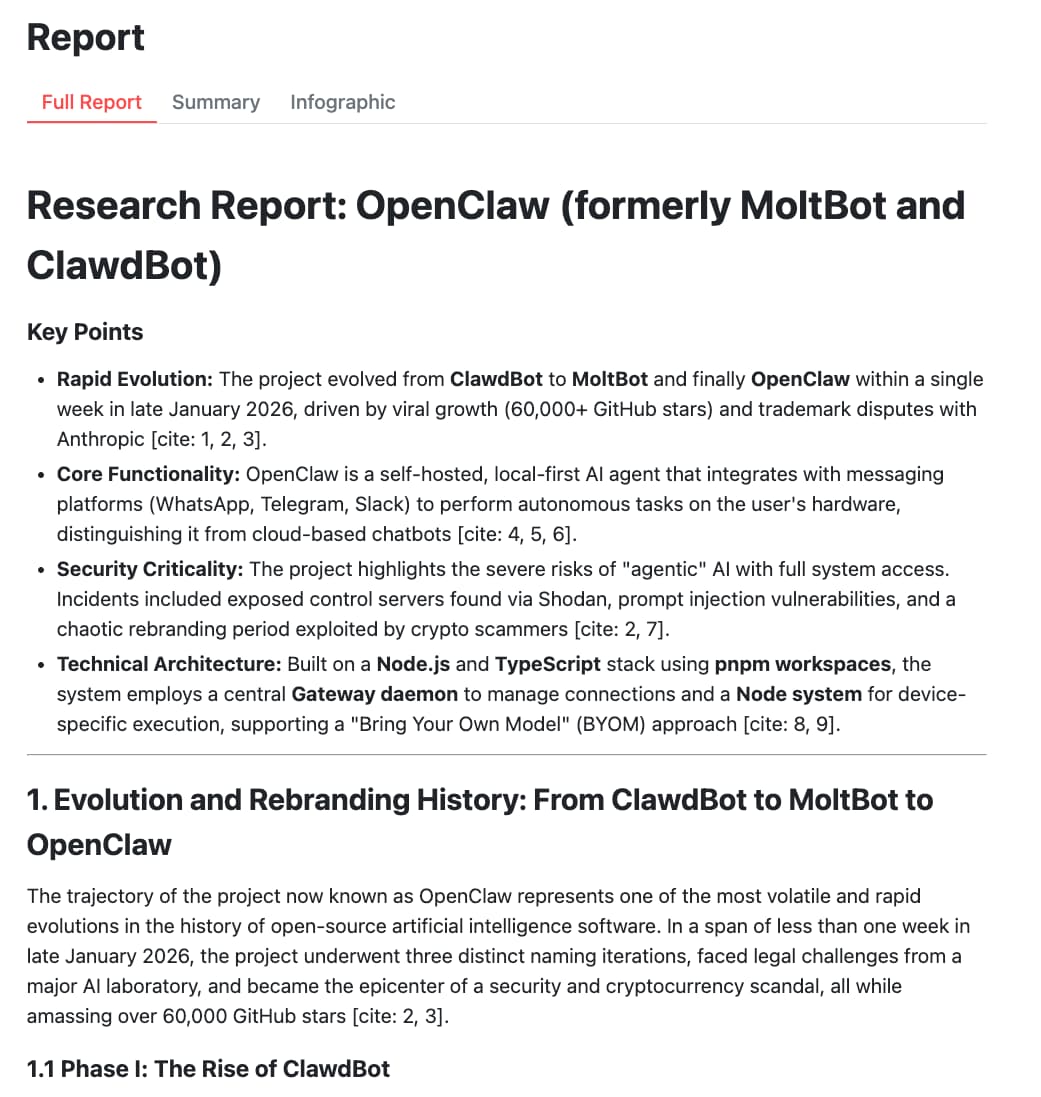
3. Synthesis (Gemini 3 Pro)
But I can go straight to the TL;DR, because Gemini 3 Pro will have prepared a high-level summary of the report:
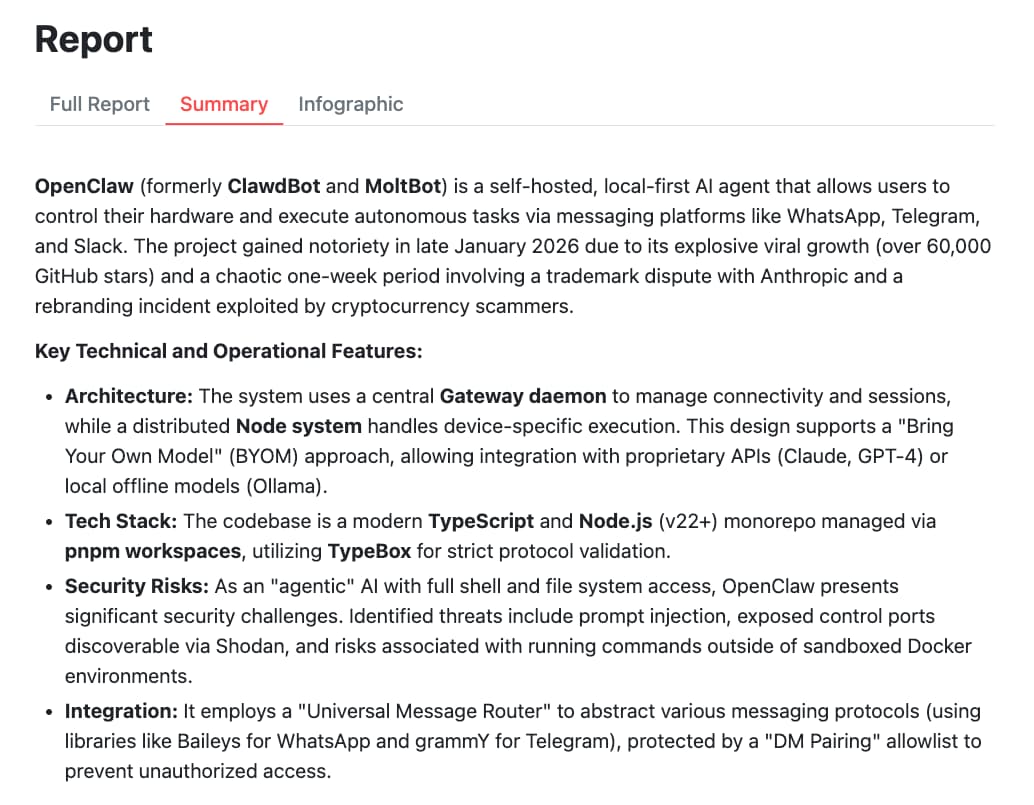
The summary is prepared by a call to Gemini 3 Pro:
ModelInteractionParams summaryParams = ModelInteractionParams.builder()
    .model("gemini-3-pro-preview")
    .input(String.format("""
        Create a concise summary of the research below.
        Go straight with the summary, don't introduce the summary
        (don't write "Here's a summary..." or equivalent).

        %s
        """, reportBuilder))
    .store(true)
    .build();
4. Visualizing with Infographics (Gemini 3 Pro Image)
Thanks to the talent of 🍌 Nano Banana Pro:
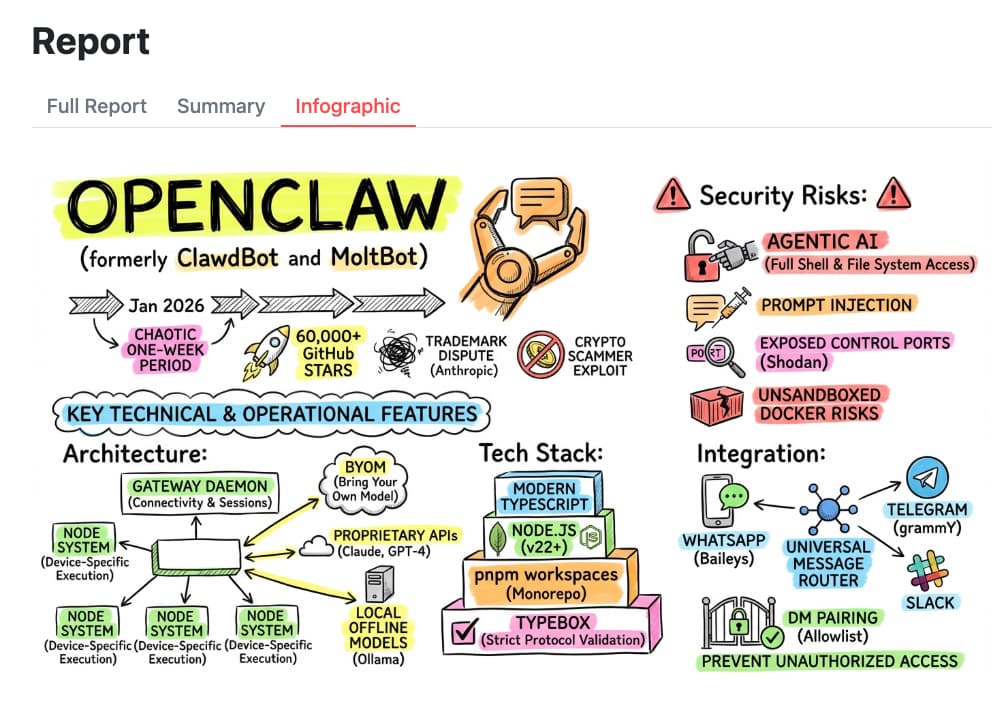
For generating the image, we just pass the summary to the model:
var infographicParams = ModelInteractionParams.builder()
    .model("gemini-3-pro-image-preview")
    .input(String.format("""
        Create a hand-drawn and hand-written sketchnote
        style summary infographic, with a pure white background,
        use fluorescent highlighters for the key points,
        about the following information:

        %s
        """, summaryText))
    .responseModalities(Interaction.Modality.IMAGE)
    .build();
Whipping up the UI with Javelit
What makes this research frontend interesting isn’t just the AI logic with the Gemini Interactions API, it’s how quickly you’re able to whip up a functional web UI for it using Javelit, without the hassle of a complicated web framework.
I invite you to check out my other articles on Javelit to learn more.
The Rendering Loop Philosophy
The core of Javelit is its rendering loop.
You provide a lambda that describes your UI (or a main method when running with the javelit command).
Every time an interaction occurs (a button click, a checkbox toggle…) it re-executes the UI code from top to bottom.
As Cyril de Catheu (the creator of Javelit) would put it, it’s a bit like a video game loop. A state update triggers a repaint. But contrary to video games, catching input and state updates is done automatically by the Javelit components, and the repaint isn’t flying at 60fps, but only when there’s a UI interaction. Because the code runs top-to-bottom, you don’t need to manage complex event listeners or manual DOM updates.
Conclusion
By combining the power of specialized Gemini models and agents with the Gemini Interactions API (and my Java SDK for it) with the rapid UI development of Javelit, I was able to build a sophisticated research tool, taking advantage of the powerful Deep Research agent, in a fraction of the time it would take with a traditional frontend stack.
The ability to stream thoughts from the Deep Research agent directly into a reactive Javelit container makes the whole experience feel “alive” and transparent.
And everything in Java… No Python was harmed in this exercise! 😃
Full source code of this deep research frontend on GitHub.