Wiring ADK Kotlin agents in an Android application
With the launch of ADK for Kotlin, it means you can power up your Android applications with agents.
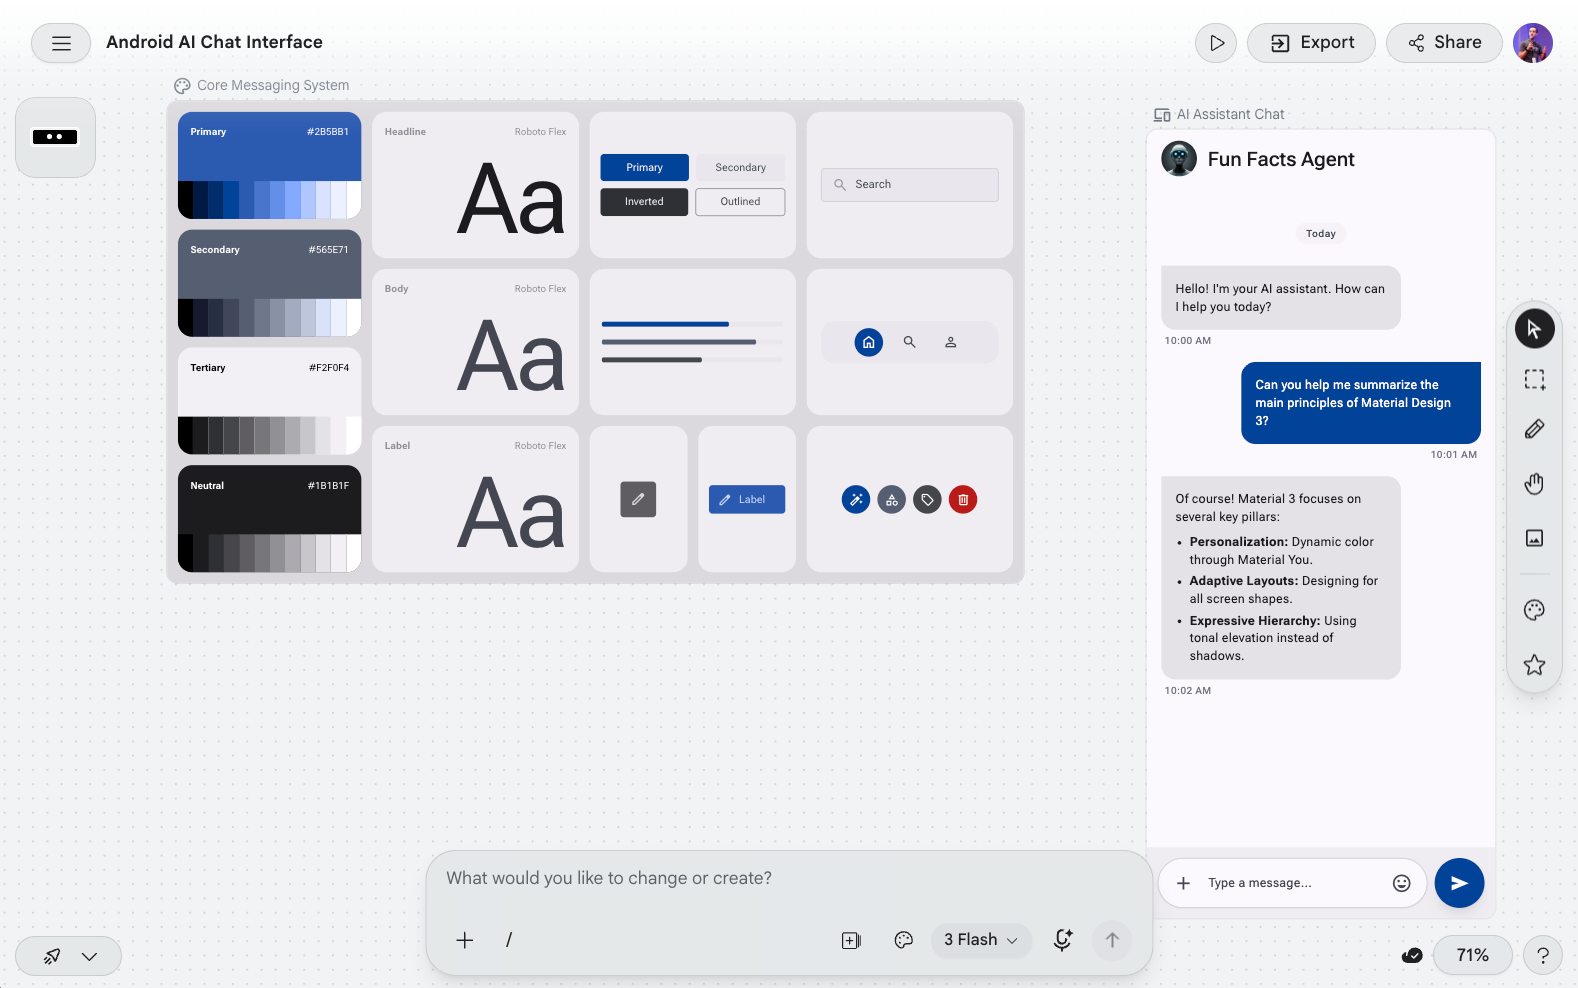
My colleague Jolanda Verhoef built an Android app that integrates an ADK agent written in Kotlin. It’s an app with a chat interface that lets you ask fun facts about anything you want.
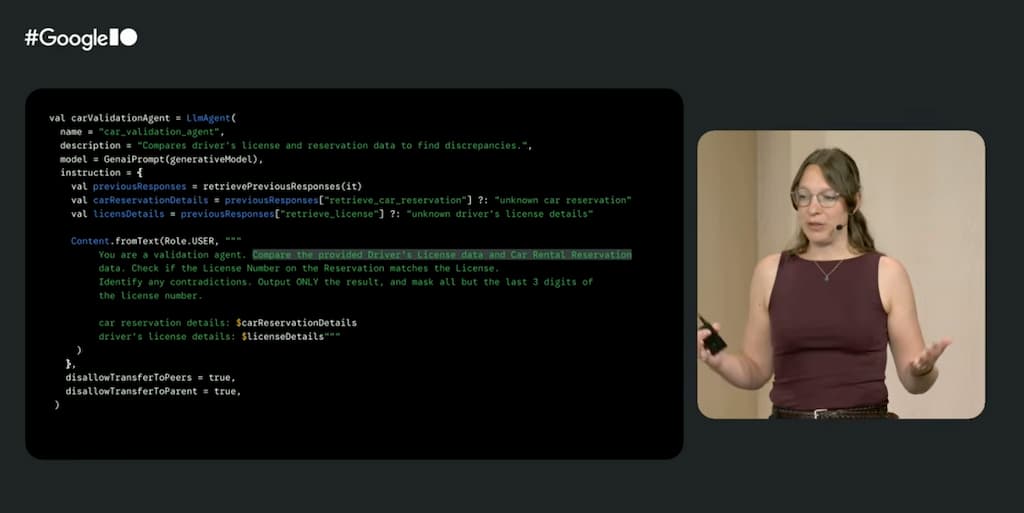
You can check out the video of the Google I/O session that introduced ADK for Kotlin & Android, you’ll find another example agent in the demo near the end of the session.
I played with the app a bit, used Antigravity 2.0 and Stitch to improve the look’n feel, and some Markdown rendering…
And please note that I’m neither an expert in Android, nor in Kotlin! But let’s get started.
How to Add an ADK Agent to Your Android Application
In this post, I’ll walk through the concrete steps required to add an ADK Kotlin agent into an Android application, from adding dependencies to hooking it up to your ViewModel.
1. Adding the Dependencies
First, we need to add the ADK core library and the Kotlin Symbol Processing (KSP) plugin to our project.
In your app/build.gradle.kts file, add the KSP plugin to the plugins block (assuming it’s configured in your root project), and then add the dependencies:
plugins {
  // ...
  alias(libs.plugins.ksp) // Ensure KSP is applied
}

dependencies {
  // ...
  implementation(libs.google.adk.kotlin.core)
  ksp(libs.google.adk.kotlin.processor)
}
Make sure your libs.versions.toml is configured with the correct versions for these ADK artifacts.
[versions]
googleAdkKotlinCore = "0.1.0"
ksp = "2.2.10-2.0.2"
...
[libraries]
google-adk-kotlin-core = { module = "com.google.adk:google-adk-kotlin-core", version.ref = "googleAdkKotlinCore" }
google-adk-kotlin-processor = { module = "com.google.adk:google-adk-kotlin-processor", version.ref = "googleAdkKotlinCore" }
...
2. Configuring the API Key securely
To interact with models like Gemini, you need an API key. You should never hardcode this directly in your source code! A good practice is to read it from local.properties (which should be in your .gitignore) and expose it to your app using BuildConfig.
In your app/build.gradle.kts:
android {
  // ...
  defaultConfig {
    // ...
    val localProperties = java.util.Properties()
    val localPropertiesFile = project.rootProject.file("local.properties")
    if (localPropertiesFile.exists()) {
      localPropertiesFile.inputStream().use { stream ->
        localProperties.load(stream)
      }
    }

    val apiKey = localProperties.getProperty("GEMINI_API_KEY") ?: ""
    buildConfigField("String", "GEMINI_API_KEY", "\"$apiKey\"")
  }

  buildFeatures {
    buildConfig = true
  }
}
Now, you can access BuildConfig.GEMINI_API_KEY safely in your Kotlin code.
3. Defining the Agent
ADK uses KSP to process agents at compile-time. Let’s define a simple FunFactsAgent that uses the Gemini model and a built-in search tool to tell us interesting facts.
Create a new file, e.g., FunFactsAgent.kt:
package com.example.adkdemoapp.agents

import com.example.adkdemoapp.BuildConfig
import com.google.adk.kt.agents.Instruction
import com.google.adk.kt.agents.LlmAgent
import com.google.adk.kt.models.Gemini
import com.google.adk.kt.tools.GoogleSearchTool

object FunFactsAgent {
  // The @JvmField annotation is required for the KSP processor
  // to discover and process the agent properly.
  @JvmField
  val rootAgent = LlmAgent(
    name = "fun_facts",
    description = "An agent that provides fun facts about a given topic.",
    model = Gemini(
      name = "gemini-flash-latest",
      apiKey = BuildConfig.GEMINI_API_KEY
    ),
    instruction = Instruction(
      "Provide the most mind-blowing, obscure, " +
      "and wacky fun facts about the topic. " +
      "Aim for maximum 'wow' factor " +
      "with rare and surprising information."
    ),
    tools = listOf(GoogleSearchTool()) // Add any tools your agent needs!
  )
}
4. Hooking the Agent into your ViewModel
To make our agent interact with the UI, we’ll use an InMemoryRunner to manage the session state and a Kotlin Flow to stream responses in real-time.
Here’s how to integrate it inside a ViewModel:
package com.example.adkdemoapp

import androidx.compose.runtime.mutableStateListOf
import androidx.lifecycle.ViewModel
import androidx.lifecycle.viewModelScope
import com.example.adkdemoapp.agents.FunFactsAgent
import com.google.adk.kt.agents.RunConfig
import com.google.adk.kt.agents.StreamingMode
import com.google.adk.kt.runners.InMemoryRunner
import com.google.adk.kt.types.Content
import com.google.adk.kt.types.Role
import kotlinx.coroutines.Dispatchers
import kotlinx.coroutines.flow.collect
import kotlinx.coroutines.flow.onEach
import kotlinx.coroutines.launch
import kotlinx.coroutines.withContext

class ChatViewModel : ViewModel() {
  // 1. Initialize the Runner with your Agent
  private val agent = FunFactsAgent.rootAgent
  private val runner = InMemoryRunner(agent)

  // Hold the chat messages for your UI to observe
  val messages = mutableStateListOf<Pair<String, String>>()

  fun sendMessage(userMsg: String) {
    messages.add("User" to userMsg)

    viewModelScope.launch {
      var agentMessageIndex = -1
      var accumulatedText = ""

      try {
        withContext(Dispatchers.IO) {
          // 2. Run the agent asynchronously
          runner.runAsync(
            userId = "android-user",
            sessionId = "android-session",
            newMessage = Content.fromText(Role.USER, userMsg),
            runConfig = RunConfig(streamingMode = StreamingMode.SSE)
          ).onEach { event ->
            val content = event.content ?: return@onEach
            val chunkText = content.parts.mapNotNull { it.text }.joinToString("")

            // 3. Process the streaming chunks
            if (event.partial) {
              accumulatedText += chunkText
            } else {
              accumulatedText = chunkText
            }

            // 4. Update the UI state on the Main Thread
            withContext(Dispatchers.Main) {
              if (agentMessageIndex == -1) {
                messages.add("Agent" to accumulatedText)
                agentMessageIndex = messages.size - 1
              } else {
                messages[agentMessageIndex] = "Agent" to accumulatedText
              }
            }
          }.collect() // Trigger the flow collection
        }
      } catch (e: Exception) {
        withContext(Dispatchers.Main) {
          messages.add("Error" to (e.message ?: "Unknown error"))
        }
      }
    }
  }
}
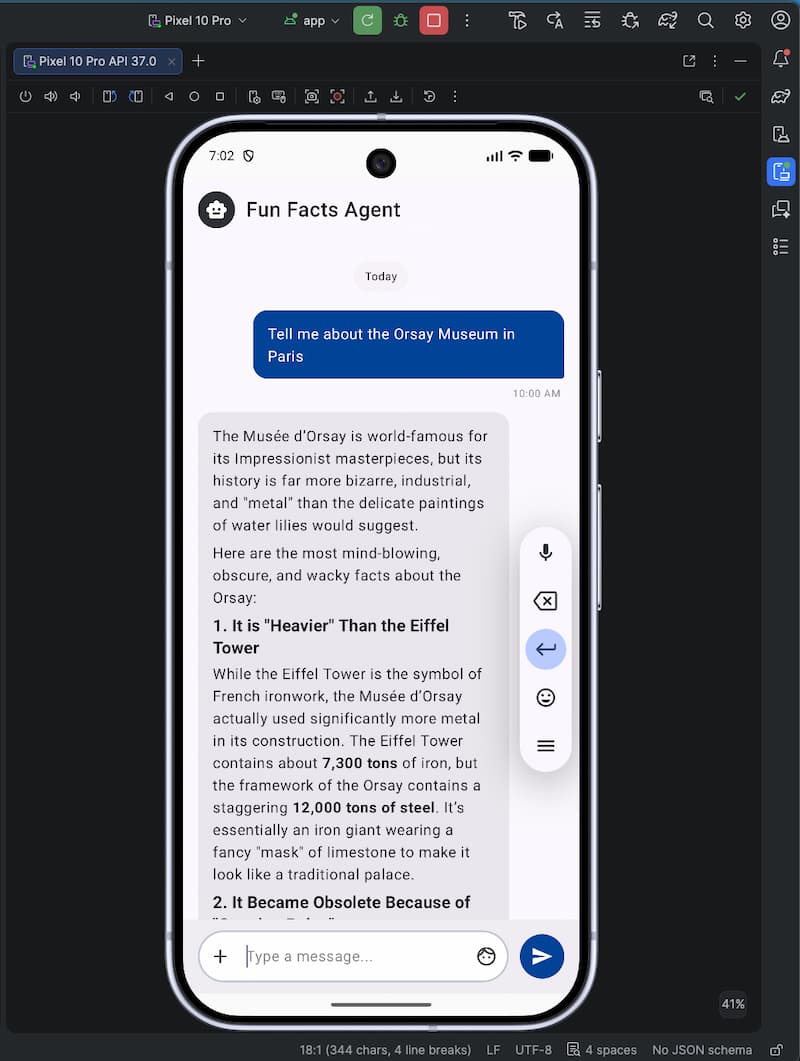
And here’s the Fun Facts Android app, sporting an ADK agent written in Kotlin, as seen in the Android Studio emulator:
Key Takeaways:
InMemoryRunner: This class seamlessly manages the underlying context window and interaction memory for the agent so you don’t have to manage conversation history manually.runAsyncandStreamingMode.SSE: Since generation can take a few seconds, leveragingSSE(Server-Sent Events) streaming provides immediate feedback to the user by rendering words as they are generated.- Threading: The network request to the agent runs in
Dispatchers.IO, and we switch back toDispatchers.Mainto safely update the ComposemutableStateListOf.
And that’s it!
Wire up your ViewModel to a Jetpack Compose view, and you have a fully functional AI agent running inside your Android app.
What’s Next?
Go check out:
- the ADK project on GitHub,
- the ADK samples for Kotlin,
- and ADK samples for Android,
- the video of the Google I/O session,
- as well as the documentation for Kotlin,
- and documentation for the Android support.
And start building smart Android apps powered by ADK for Kotlin!